What you're going to need
4" square
Walnut Hollow aluminum and cardboard from package
embossing tool
ribbon for hanging
red paint
paint brush
decorative craft scissors
paper scissors
hole punch
E-6000 glue or similar adhesive
Adirondack alcohol inks and blending solution (optional)
Click on the heart image to open a full size jpg on another web page. Drag image onto your desktop and print heart design so that it fits on a 4" square (on point, measure on the diagonal). Trace outline onto the 4" cardboard square that came in the aluminum package. Cut it out and paint it red on both sides. Punch a small hole for the hanging ribbon in the top.
Center line drawing over the 4" metal square and trace the small heart, this will lightly emboss the heart on the metal.
Using decorative edge craft scissors cut just outside the embossed line.
Glue metal heart to cardboard with E-6000 or similar strong multipurpose adhesive, it may need 24 hours to dry completely. Then emboss decorative designs on the metal, I prefer using a nylon tipped tool for this.
Draw the design of your choice on the paper heart, place over the metal and trace the design so that it transfers to the metal.
Go over the lines with the embossing tool to add more depth to the design and add more decorative details.
You could stop here with a silver embossed design or add color with Adirondack Alcohol inks.
Use Alcohol blending solution instead of water to lighten colors, rehydrate the inks on your palette (because they dry very quickly) and clean your brush between colors.
Thread ribbon through the hole and tie it for hanging.
Tomorrow be sure to see
Kelli Nina Perkins Whimsical Spool Garland, you know it's going to be fun and colorful!
Check out all these other great tutorials:
November 10: Lyric Kinard Glitter, Glisten, Glimmer: Beaded Snowflake Ornament
November 19: Gloria Hansen Resizing a Digital Image the Easy Way
November 20: Diana Trout Japanese-Style Fabric Wrap (Furoshiko)


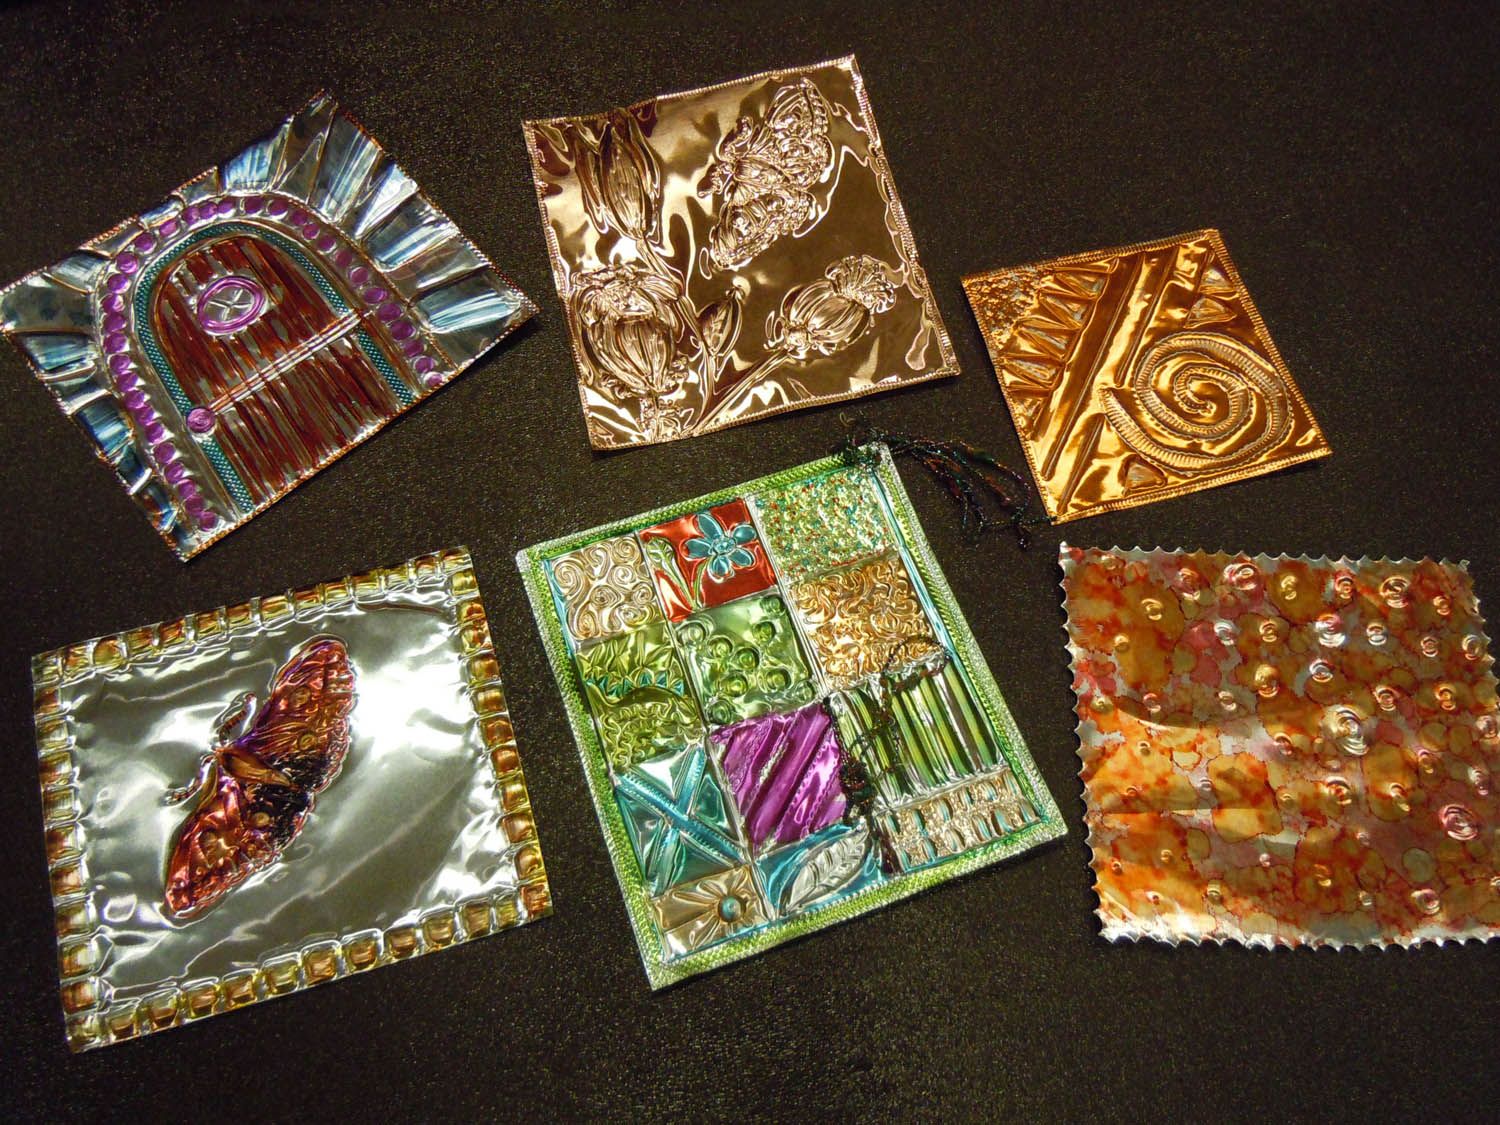
 The saturday metal class was fantastic! Walnut Hollow recently changed the size of their metal squares from 4" x 4" to 5"x 5 3/4", and this larger size really opened up the creative potential for embossing.
  My students had so much fun, creating fantastic designs, check out all their beautiful work (click on the photos for big images)


 One student found this great little embossed aluminum metal box in the Artistic Artifacts booth at lunch and colored it with alcohol inks.