Sunday, May 27, 2012

Just a few days left...


I wanted to give you the heads up that there are just a few days left to buy this limited edition thermofax screen Florabunda, sale ends May 31st.


The image on the screen is approximately 9" x 6" and sells for $13.

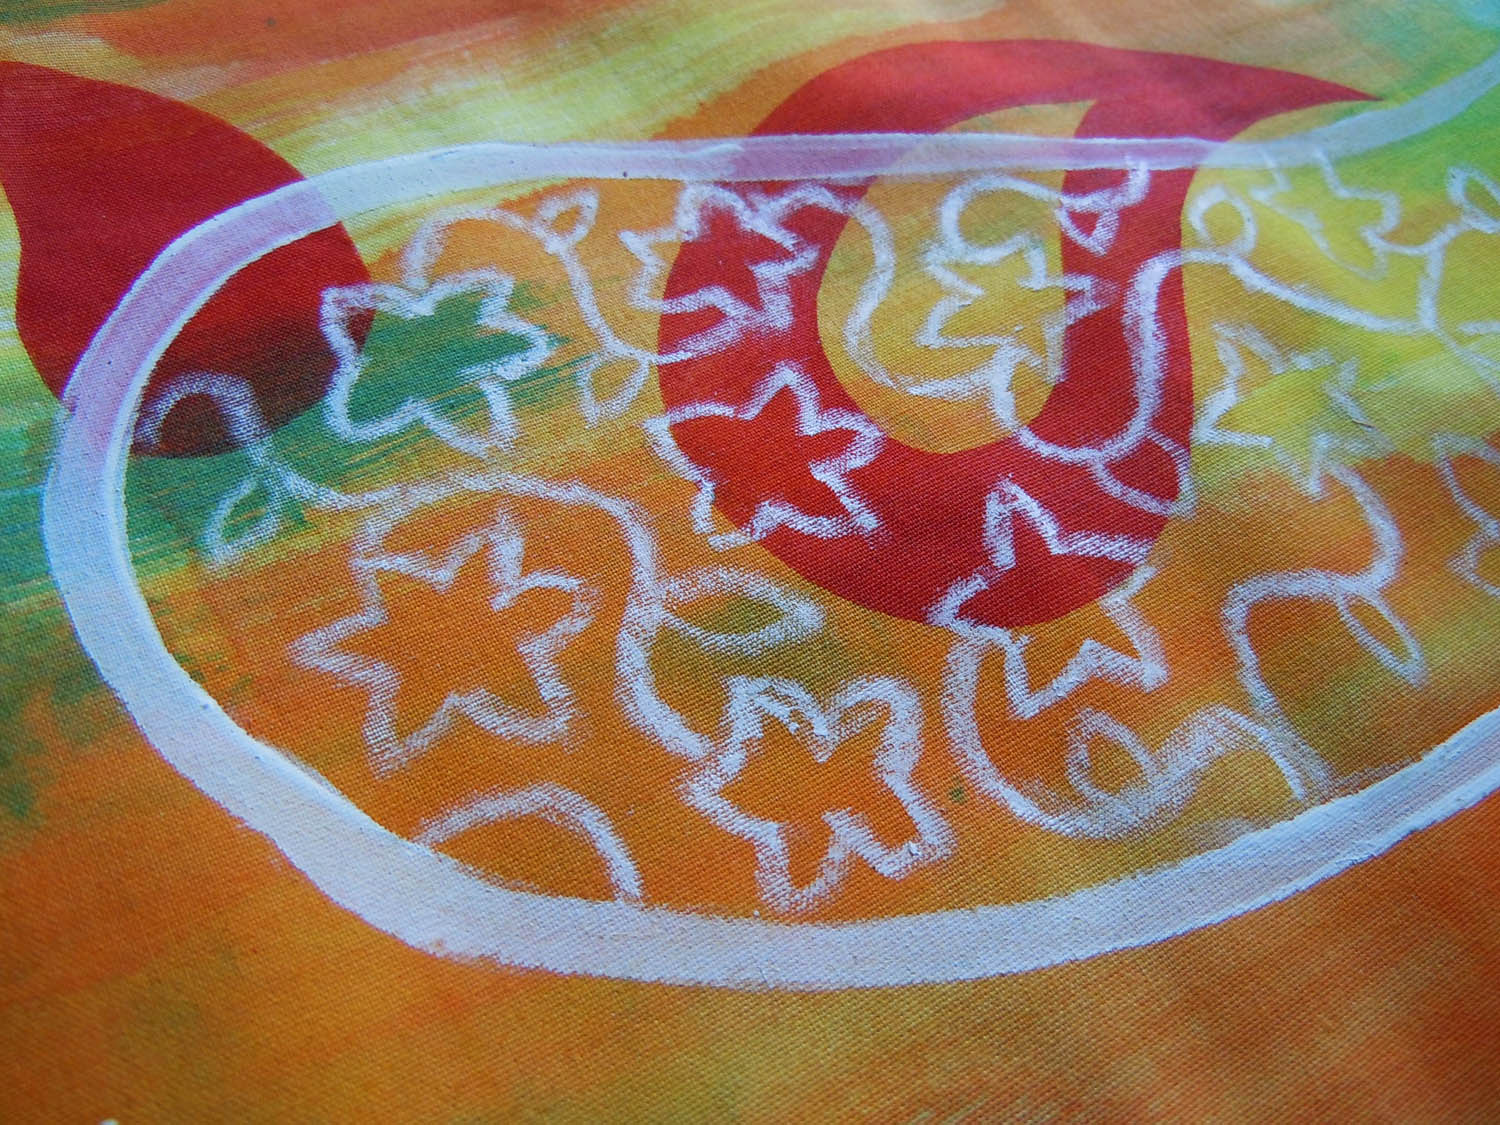
This image was printed with textile paint on tan colored hand dyed fabric.
This is a recent piece I made using this thermofax screen. I know I'll be getting a lot of use from this design.


Copyright seems to be on everyones mind these days and I want to assure you, you are free to use this image in any way on your work. You could use it to create a fabric and cut it up to make art or items to sell. Use it like you would a store bought stencil. The only way I would not want to see this image used, is printed alone on an object (t-shirt, bag, etc) and sold as your own design, that would just be a bad karma thing to do.

I printed these with black textile paint on hand dyed fabric.

The one below on the left is a piece of rust dyed organza that I put on top of the hand dyed fabric on the right and printed both at once with brown textile paint.

I used a demo piece of fabric from the Tea & Ephemera class to try screening over some other imagery.


Then I tried out some clear DeColourant to screen some hand dyed fabric. I love what a crisp image it gives. The slightly gelatinous consistency of DeColourant makes it perfect for screening. 
Just incase you are unfamiliar with this product, DeColourant removes color from fabric. Apply it to fabric (brush, screen or stamp), let it dry and then use a hot iron with steam to activate the discharging proces. If you want to know more about using DeColourant, I wrote an article for Quilting Arts magazine Feb/Mar 2012

You can also get DeColourant in colors so it removes the dye from the fabric and puts a new color in at the same time. For the examples below I used yellow DeColourant on a hand dye and commercial batik.

If you would like to buy a Floribunda thermofax screen to adorn your work, please check out Lynn's Etsy Shop.  Lynn also has a DVD with everything you want to know about using thermofaxes to design and create textile art.

Saturday, May 26, 2012

Are you going to Festival in Long Beach?

I can't believe it's nearly June! Time is flying by and in just a little more than a month Quilt Festival will be upon us. Here's the line up of classes I'll be teaching.

Thursday, July 26 
Alternatively Bound & Stitched NEW

Expand your free motion quilting repertoire with some creative free motion stitching exploration. Then bind your quilted samplers with several non traditional alternative binding techniques for art quilts: faced binding, couched twisted cord binding, and satin stitched binding.

Friday, July 27 
Color Theory

Did you know the color choices you make can transform an average piece of artwork into something spectacular? Be surprised and delighted by the effects and illusions you can create by understanding the mysteries of color. In this hands-on experiential class you’ll learn key color concepts with visual examples, mix new paint colors, and create helpful charts, all providing you with the tools you’ll need to see color in a whole new light.

Saturday, July 28 
10 Textile Techniques Using Acrylic Inks NEW

Explore a variety of painting techniques from textural backgrounds and surface design techniques to stamping, layering colors and more traditional painting and drawing with inks.

I'm looking forward to getting back to California for some fun in the sun, hanging with my fellow creative peeps and teaching a few classes, if you'd like to join me sign up now!

Thursday, May 24, 2012

Chicago School of Fusing May Birthday Bash

Jane Sassaman and Laura Wasilowski
So if you were unaware, the majority of the Chicago School of Fusing were all born in May. So this means once a year we have to get together for a party to celebrate and it includes many of the top stars of the art quilting world who live in the Chicago area.

Laura interviews Jane about her new book
We started out in Laura's backyard where Jane showed us her new gorgeous book hot off the press. BTW  there will be a blog hop in July with chances to win a copy of Janes new book.

Laura and Frieda filming Jane
Patchwork Sassaman Style is a beautiful book showing how you can take some simple traditional patchwork patterns and use large print fabrics to create stunning visually complex quilts. Jane's fabric works especially well because she designs such gorgeous fabric! but really you could use these concepts with any of your favorite fabrics. 

All of our get togethers include a lovely pot luck lunch. I made this unassuming looking cake, that happened to be made with Guinness stout, molasses and fresh ginger! The recipe was just too interesting not to try. I made a cream cheese frosting to top it off and I think it was definitely good enough to make again.
clockwise from left: Emily Parson, Ann Fahl, Anne Lulle, Laura Wasilowski, Barb Vlack, Frieda Anderson and Jane Sassaman
I'm so lucky to have such amazingly talented and wonderful friends.


Emily showed us her latest knitting project and a pic of her newest quilt, it's gorgeous, it will surely be an award winner!

At the end of a delightful afternoon, I gave Laura a ride back into the city so she could join her husband Steve, he works in my neighborhood, and we ended up grabbing drinks and dinner with a few of Steve's co-workers in downtown Chicago on a beautiful summery evening.

Thursday, May 10, 2012

Painted ipad Bag

I have been wanting to buy a case for my 'new' ipad, but have held off because I read the ipad 2 cases didn't work with the new ipads because they moved the magnet that puts it in sleep mode when you close the cover and there aren't that many options in covers for the new ipads yet, so in the mean time I've had nothing to protect it when I'm not using it and need to transport it.

I decided to sew a simple bag from canvas with a piece of thick wool felt sewn into it as a cushioned liner. I had no intentions of doing anything fancy, just a simple temporary bag that was purely utilitarian. This did the job and suited me just fine... for a few days.

But the lure of that blank canvas was too much.
I pulled out a few printed tea bags, abaca paper and matte gel medium and glued a few images down.
Then I painted a layer of clear gesso over the whole bag. Gesso is a way to prep the canvas for paint and clear gesso would not cover the printed images the way white gesso would.
Using acrylic inks, I brushed on some random color. When I build up layers of painted imagery, I like to start by putting down some primary colors, mainly warm yellows and cool red, because when I paint blues over them I'll get greens and purples. I especially like yellow as a base color because it is light, bright and transparant and I can always go darker with layers of color over the top.
With pencil I drew a few images on the canvas, white pencils are always nice if you can't see pencil lines very well.
Then I painted the background with deep blues and turquoise. You can see some of the colors are translucent letting the printed images and color from below show through and some of the colors, like the turquoise, are opaque.
 I used a black sharpie to give more definition to the simple graphic shapes

I still havent decided on what kind of closure if any I'm going to put on the bag, for now I just fold it over and that works fine.


Thursday, May 03, 2012

How Can You Resist Such a Simple Technique?

One fun little technique I found works great with acrylic inks (this would also work with Tsukineko inks) is to draw on fabric with a colored pencil or china marker and paint over it like a simple resist. Kind of like in grammar school when you colored with crayons and painted india ink over the top.

So why pencil versus china marker? Simply, pencil will give you a thinner defined line and the china marker a thicker heavier line.

In this case brand does matter. The first sample, if you can see it, was written with a Blick store brand white colored pencil and the second was a Berol Prismacolor white pencil. The Blick pencil was not as creamy and waxy and did not create a very good resist, the ink painted right over it.

If you are unfamiliar with china markers, they are a pencil that can write on a non-porous surface, like plastic, glass or metal and then can be wiped of with a firm rub with a dry cloth.
You don't sharpen them, instead you peel back the paper wrap covering by grasping that little string and pulling it back to the first perforated row
 grab the paper, unwind it
 then draw.
This is a sample I worked on in the acrylic inks class, layering up multiple different techniques.
The thick white lines are textile paint, the thinner flower vine pattern in the center of the paisley is china marker.
The little pale blue crosses in the background were also drawn with white china marker and then painted over with blue ink. I like how they show up really well and have a hint of blue.
I painted over the center of the paisley with red ink.
The pencil does not penetrate the fibers like a gutta resist, so if you have a lot of ink on your brush and the fabric gets really wet it will bleed beyond the pencil lines, but the white lines of the drawn imagery will show through, which to me is the effect I really like.
I painted inside the flowers and leaves with red-violet ink to make them stand out more. The benefit of the china marker was that I could quickly add color without being too fussy and neat because it kept the ink fairly contained.

Voila!

LinkWithin

Related Posts with Thumbnails