Two months ago
I began this painting for a quilt, unfortunately it got put on hold because several writing projects came up. I have been very quiet the last two weeks because I had to get back to work on it full time to make the deadline for it this week.
When I prepare a whole cloth painting for quilting my secret weapon is
Mistyfuse. I am not fond of basting and when I discovered Mistyfuse could replace hours of tedious basting with fantastic results, I never looked back. I love this product and never make a quilt without it anymore.
I place my painted fabric face down on a surface I can iron on. For that I have a large plywood board wrapped with batting and muslin that I put on top of my work table. Then I cover the back of the fabric with a layer of Mistyfuse.
That roll is a bolt of mistyfuse.
Mistyfuse is as light as a spider web with delicate little strands of fusible adhesive, which will not change the hand of the fabric at all.
I lay a large silicon pressing sheet or parchment paper over the top and iron at the hottest setting.
After the whole back is covered with Mistyfuse, I put a bed sheet on the floor and spread the wool batting out on top. Next, I put the quilt top on with the Mistyfuse side down on the batting. Starting in the center of the fabric and working my way concentrically outward, I iron it on the hottest setting, fusing the top to the batting.
Then I turn the whole thing over, with the painted fabric face down on the sheet. I cut one to two inch squares of Mistyfuse and place them in a loose grid approximately 6 to 8 inches apart across the batting. I carefully lay the backing fabric over the top and iron the surface, which effectively spot fuses the back fabric to the batting.
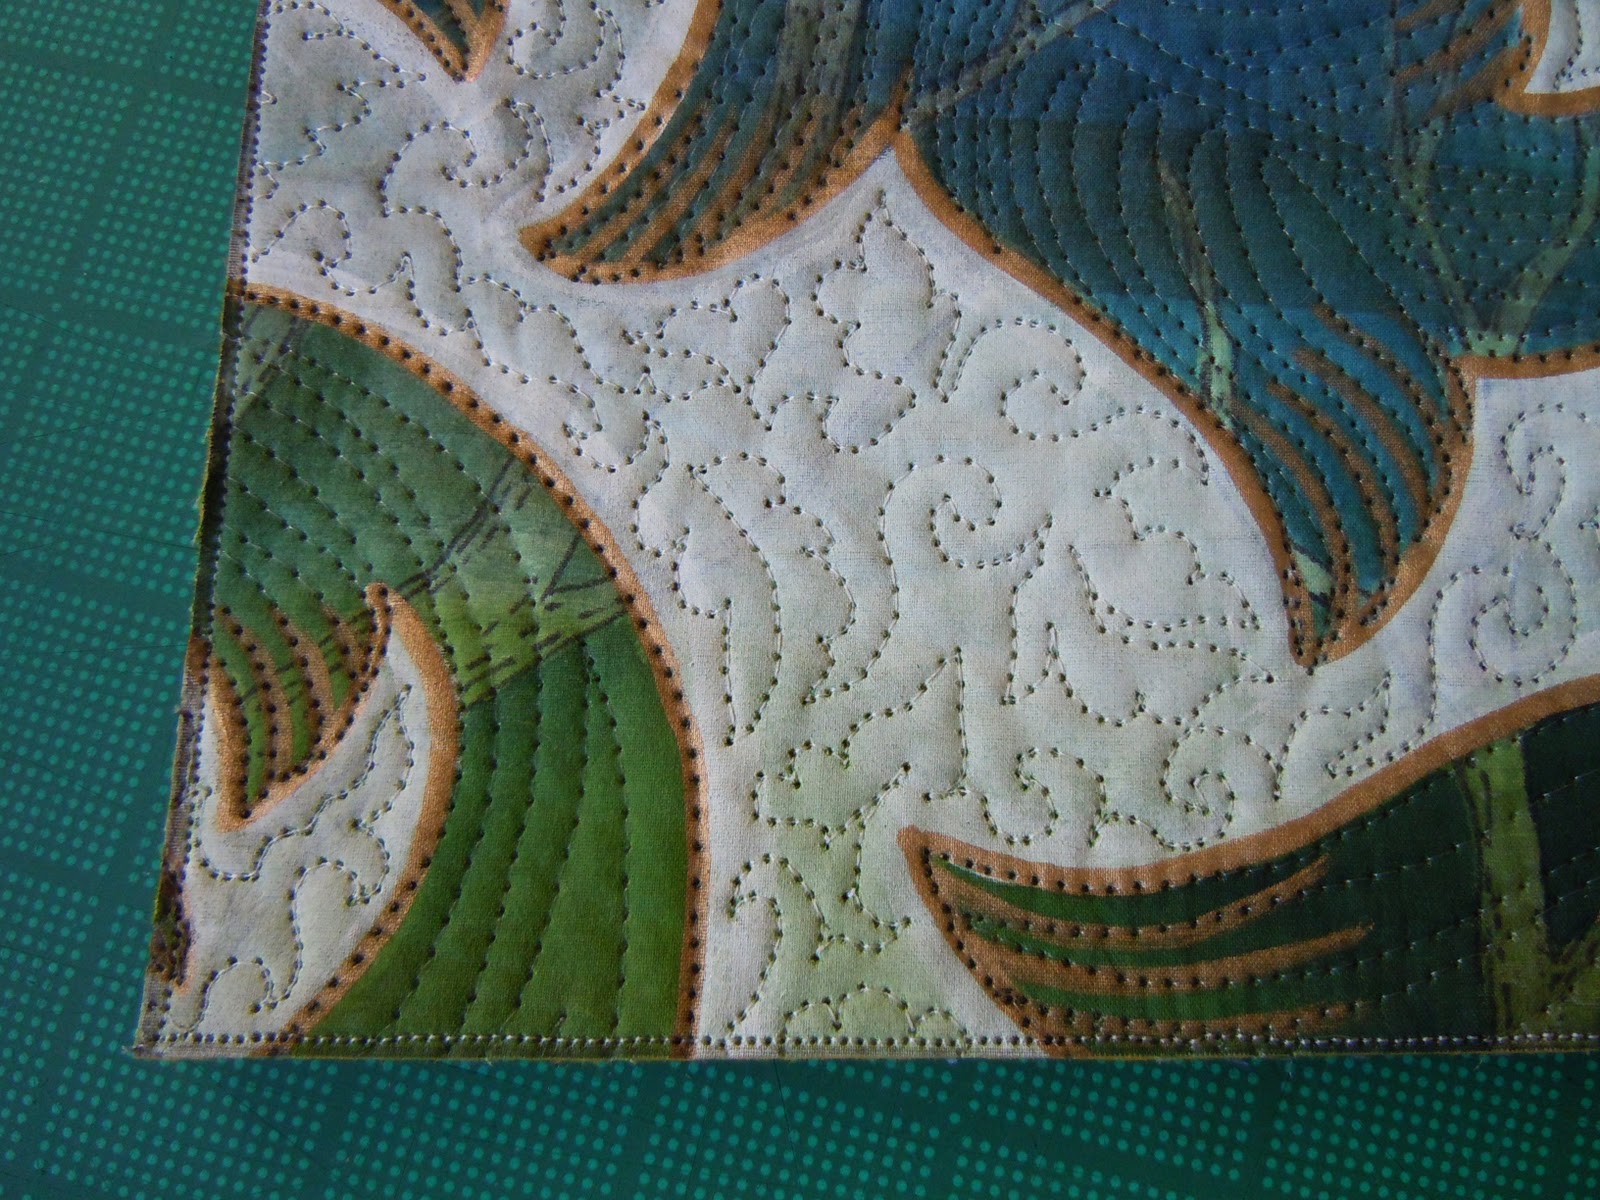
And then I begin quilting.
When the quilting is finished, I block the quilt by pinning it to the carpet and steaming it. This smooths it out, puffs up the batting and makes the quilt lay flat.
Next it's important to make sure the quilt is square by using large straight edges and triangles to check all the corners.
I use a Bohin chalk pencil to mark the finished size of the quilt for cutting.
Then I trim the excess quilted fabric away leaving an extra 1/4 inch seam allowance all the way around to sew the binding to.
I prefer a
faced binding which is not visible from the front the quilt, giving it a nice clean finished edge.
 |
| Black and Bloom All Over |
|
Finished size 36" x 48". Lastly I have to stitch the binding down in back, then sew on a sleeve and label, but that can wait while I get back to other tasks, like cutting fabric for my classes next week.


