
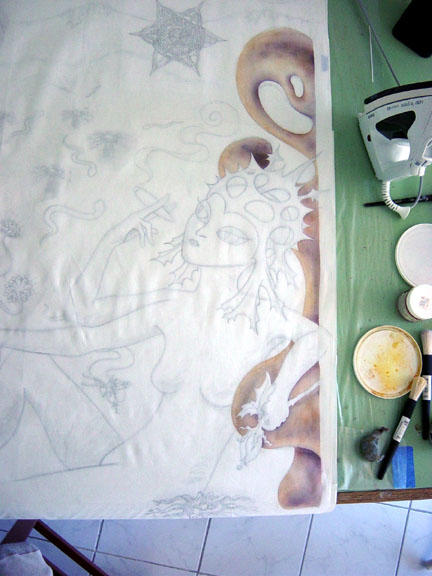
On this quilt I wanted it to have a soft atmospheric quality, so I decided to try the D’uva chromacoal powders. I cut freezer paper templates of everything on the quilt. I ironed down a freezer paper template around the weird rock shape to protect the surrounding fabric. Using a stiff stencil brush I applied the chromacoal powders.

I put in the reverse freezer paper templates to color the background. This all has to be heat set when done. I put it in the oven for several minutes at the suggested temperature.

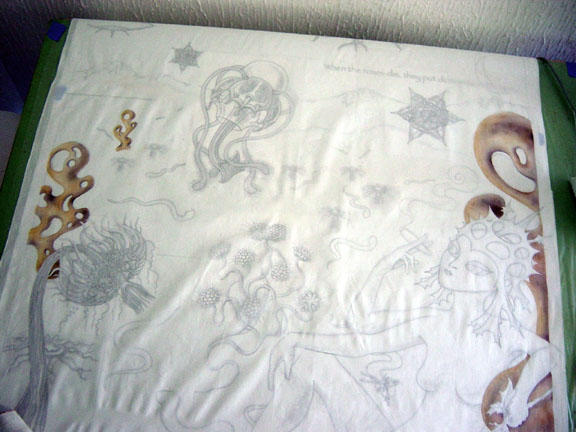
I inadvertently got a grease spot on it from the oven and then had to paint in another floaty alien thing.

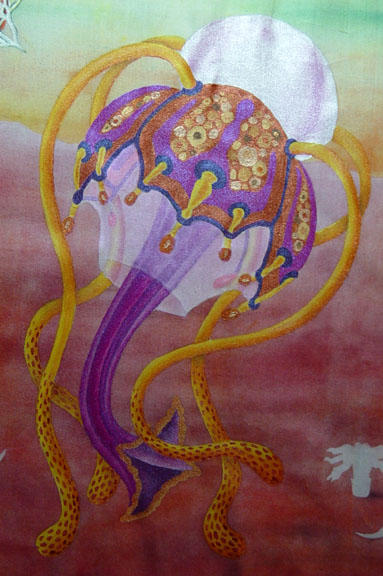
This orb is painted with tsukineko inks and the jellyfish below is painted with Jaquard Lumiere, and Setacolor textile paints.
After the painting was completed. I layered the quilt with wool batting and a hand dyed back fabric. Next I hand basted the heck out of it. Wool does not have a scrim and things can shift very easy while machine quilting.

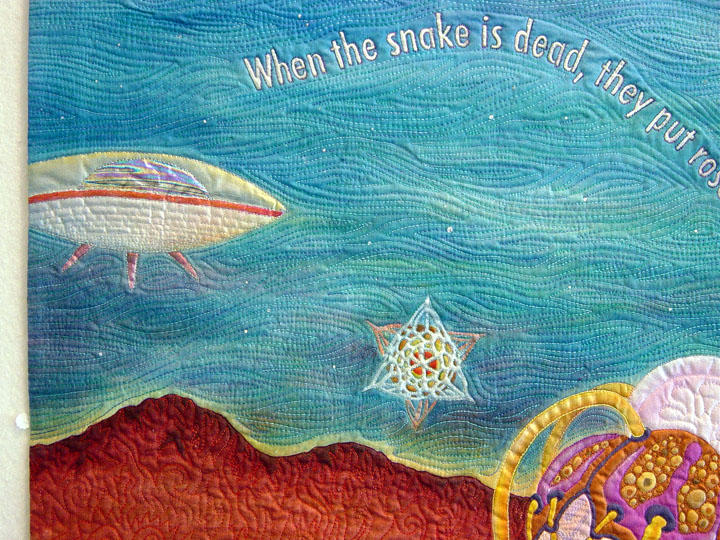
I outline quilted the painted type to help it stand out. Silver paint didn't seem like enough for the space ship so I foiled the window.
 I did not want a traditional binding framing the quilt so I chose to sew the binding on and turned it to the back.
 Then I had my husband take some slides for me. When the slides came back the colors were more vibrant on the reds than the actual quilt. And I liked it better! It really started to bug me and so I put the quilt back on the table and pulled out a red Shiva paint stick. I found a sample scrap of fabric that I had used to experiment with the chromacoal powders for the planet surface and tried out the paint stick. It seemed to give me the color I wanted so I bit the bullet and re-colored the surface of my finished quilt. SCARY.
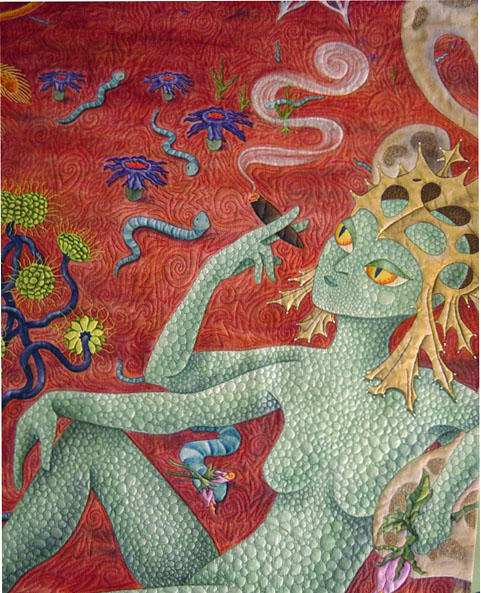
Then I got so bold as to pull out a purple Shiva paint stick to enhance the shadows on the Martian woman. I tried beads on the quilt in various places but decided the only place I wanted them was on the Martians helmet and one large one on the eye of the snake lying next to her.
that process is amazing! your style is even more amazing!
ReplyDeleteThe finished quilt is beautiful! Colors, shapes, stitching, all of it. Will this go on a wall or in a museum?
ReplyDeleteTruly astonishing work. I might send you some photos of my late mother's quilting work. I am sorry she is not aroung to see yours.
ReplyDeleteI have never seen quilts like yours before. They are amazing, quilt almost seems too humble a word for them...you know? I especially love your Martian piece.
ReplyDeleteWow...this is stunning. You have unbelievable talent.
ReplyDeleteBeautiful!
ReplyDeleteI just saw this quilt at the Mid-Atlantic Quilt Festival in Newport News, VA-- it was BY FAR my favorite quilt; you are my new favorite quilter; have you written any books?
ReplyDeleteWOW, WOW, WOW!!!
WOW!
Liz
Hi Liz,
ReplyDeletethanks! I have not written a book, yet. but It is on my list of things to do, I have been approached by a few publishers about it in the last year, so it is moving up the list of things to do.
I like you quilt. It's nice, except for its typos. "It's" is a contraction for "it is"
ReplyDelete