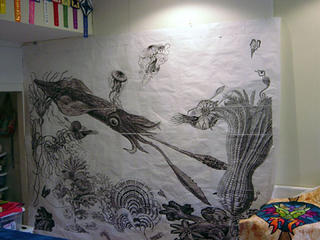
Primordial sea was technically the most challenging quilt I have ever made. Once again I made my design in Photoshop and printed it out to size.
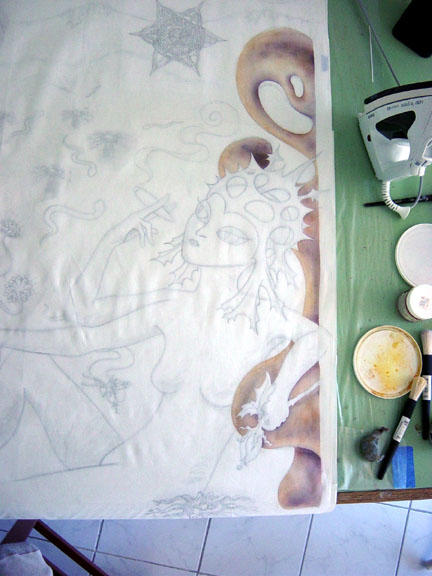
I wanted to use silk because of the luminous way light reflects from it. I thought it would be ideal for water. I ordered the widest silk charmuese I could get from Dharma Trading and sewed two pieces together to make a 6 foot by 8 foot wide piece of silk. Then I hand dyed it twice in shades of turquoise, cerulean and navy. I tried tracing my design on to the silk using a light box but found the blue to dark to see through. So I re-taped my fabric under my design and used white Saral transfer paper to transfer the images down.
Then I began to paint and found out two things. One- silk stretches and two- translucent textile paints turn black when you paint on blue silk. To solve the first problem freezer paper became my best friend. Each time I painted an area I had to iron a strip of freezer paper to the back of my fabric. Then I had to be careful to paint up close to the edge of the paper and stop, reposition the freezer paper adjacent and just underneath the area I was painting so I would not get a line from the paper showing up in the paint. Any little bump or grain of sand will show up in your painting if it is under your fabric.
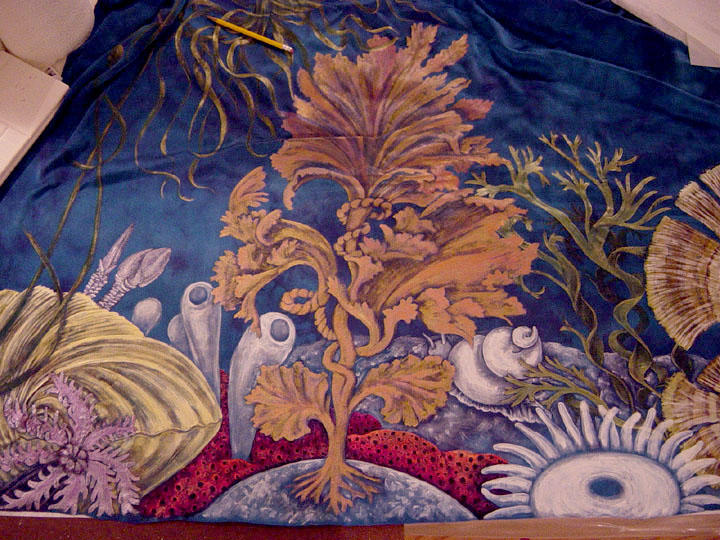
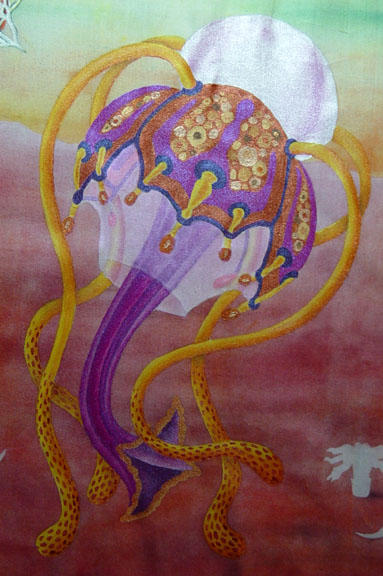
To solve the next problem I painted each image in shades of white to create a base for the paint colors.

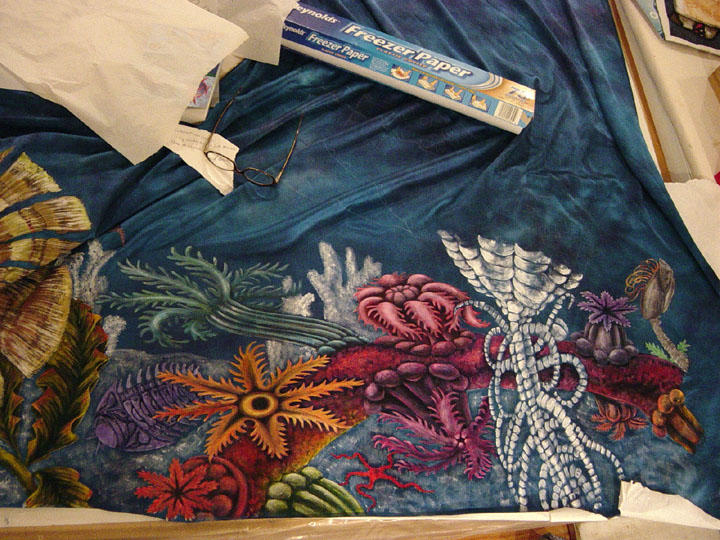
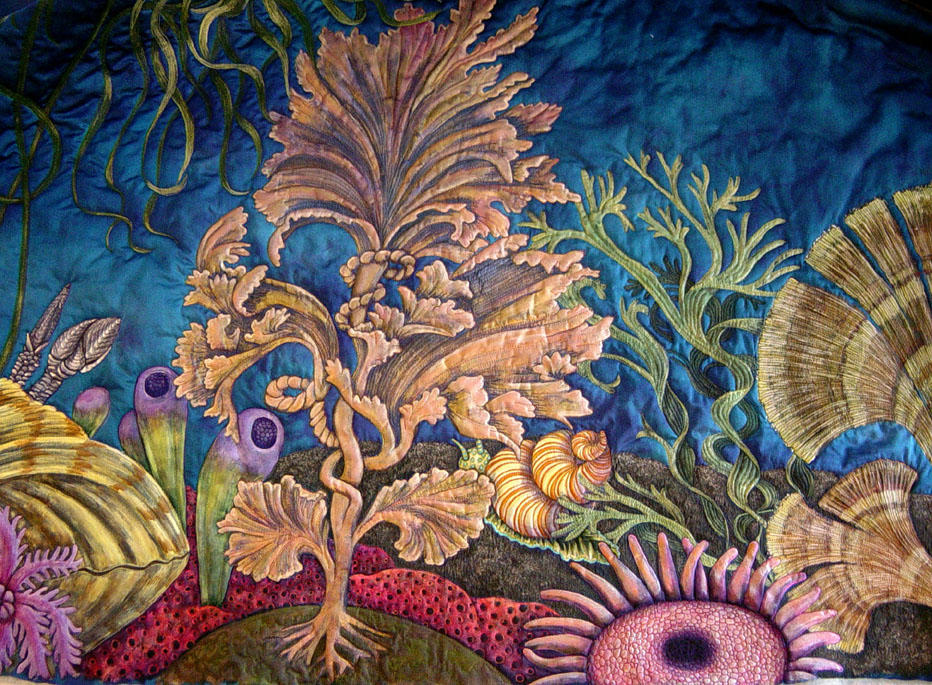
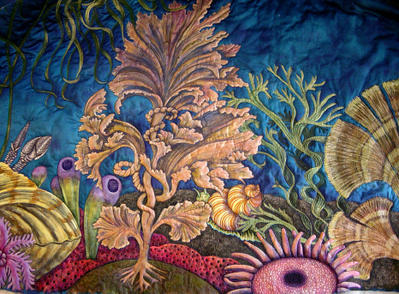
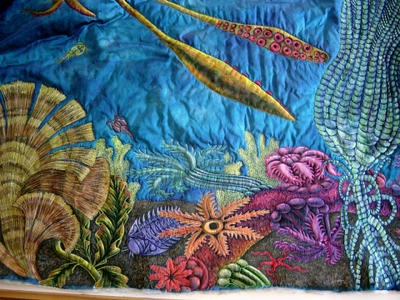
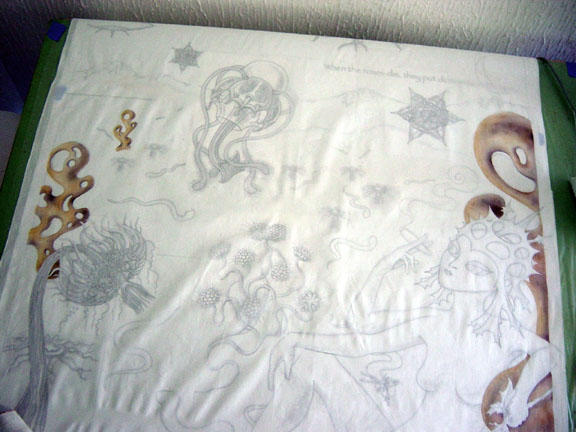
The next problem i ran into, was the chalk lines from the saral paper started to disappear on me, and i found myself having to rely on looking up at the original on the wall and re drawing things by hand because there would be no way to line it up again and re transfer the images. So things changed shape sometimes and got different kinds of details. This is also when I started to add in things that were not in the orginal drawing, like several more types of seaweed and sponge, a large pink anenome, a trilobite, clam and a snail.

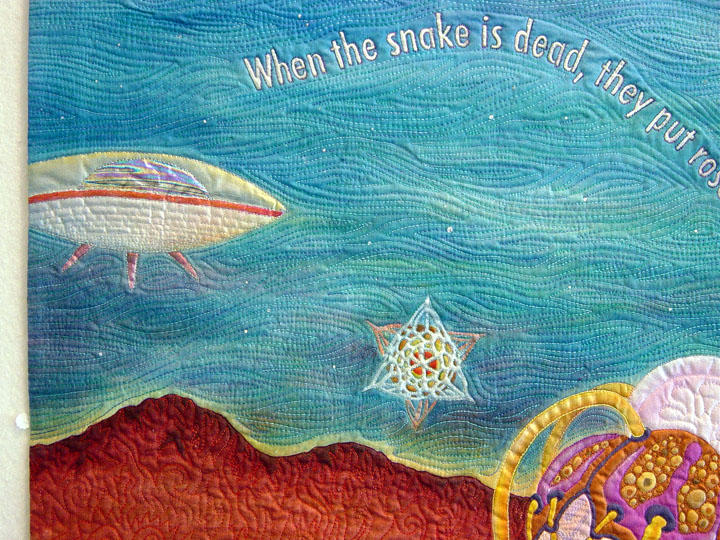
You can see the lines for the giant sea lilly have all but disappeared.

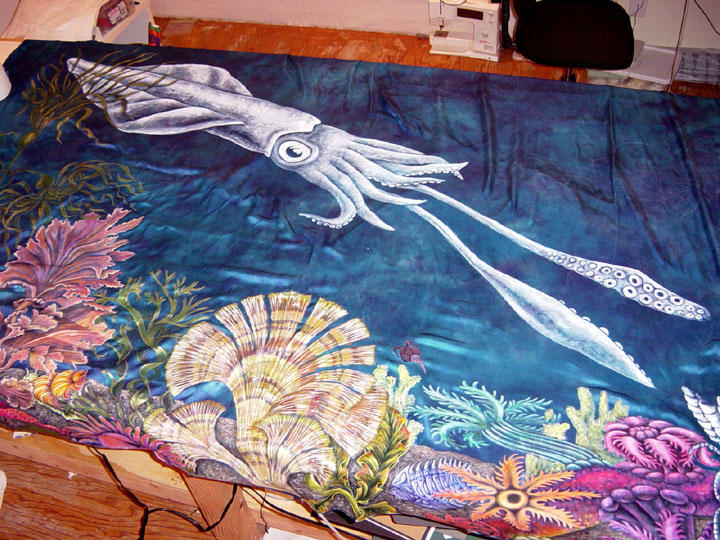
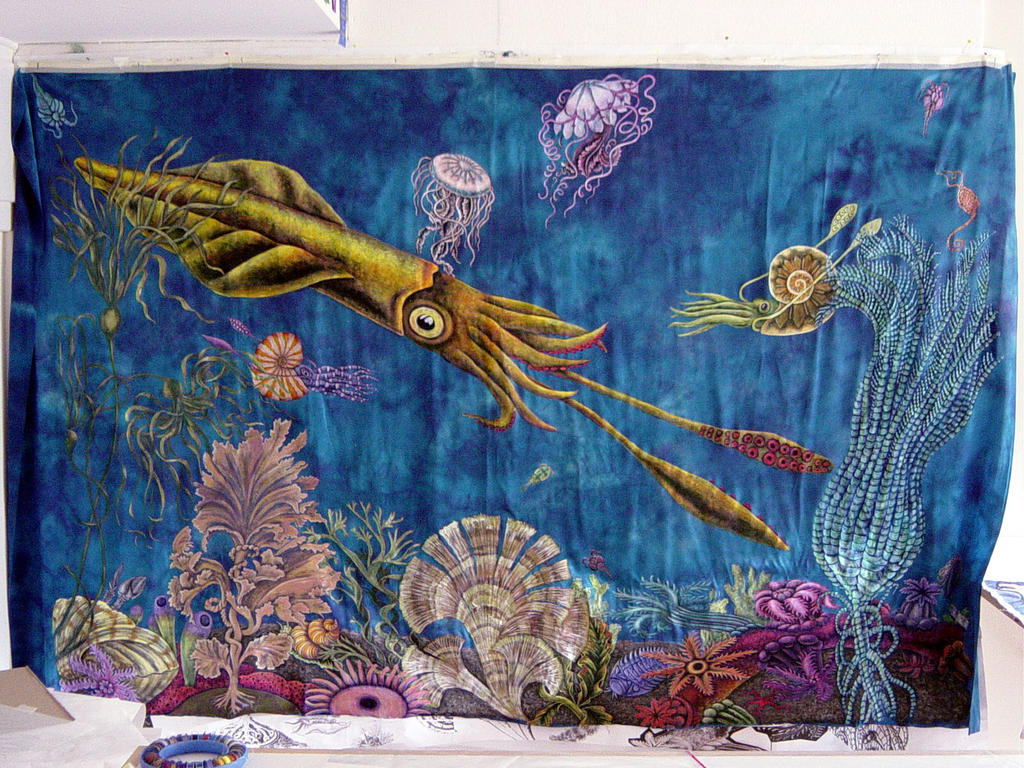
Finished Painting.

I was terrified to quilt this quilt. One it was big, two I was using slippery silk and slippery wool batting, and three any mistakes in the quilting (puckers in the fabric, stitches that need to be removed) were really going to show. I thought of spray baste, but was afraid of its effect on the silk, then where would I be able to lay silk outside safely to spray, and after vigorous manipulation while machine quilting, it may loose its adhesion. Hand basting seemed too daunting on this one. Then I thought of fusible web. Something I am ambivalent to use because I do not like the stiff flat quality. Wool batting has a lot of loft and you would lose all that texture by using something like wonder under. I remember
Esterita Austin saying that she had a new
fusible web that was very light. So when she came to teach at our Glendale Quilt show I bought a package.
I made a sample using Esterita’s fusible, sandwiched between a piece of silk and the wool batting and loved the results. The fusible is like a spider web it is so light. So I fused the whole hand dyed and painted sheet of silk to the wool batting, very carefully in two steps.
First I fused the web to the silk in rows, it is 10” wide and i used parchment paper as a backing sheet. The slight overlaps were invisible after fusing. I then fused a one-inch square of web every 6 inches to my hand dyed cotton backing fabric. I fused this to one side of the batting. Next I spread the spot fused backing and batting on the largest carpeted floor in the house and carefully fused my silk top to the wool batting starting in the center and working outwards. Thank goodness I had recently bought a cordless iron. This took hours, but it was well worth it. The fusible held up like a dream under heavy machine quilting.
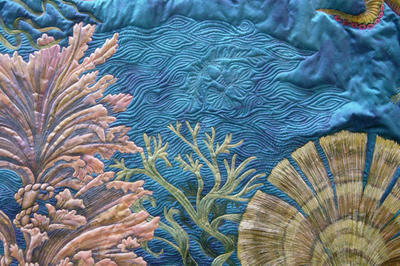
When I start my quilting, I always try to think about how my stitching lines could enhace the object that I am quilting. What kind of detail can I add. How can the quilting make the object appear more dimensional or textured.
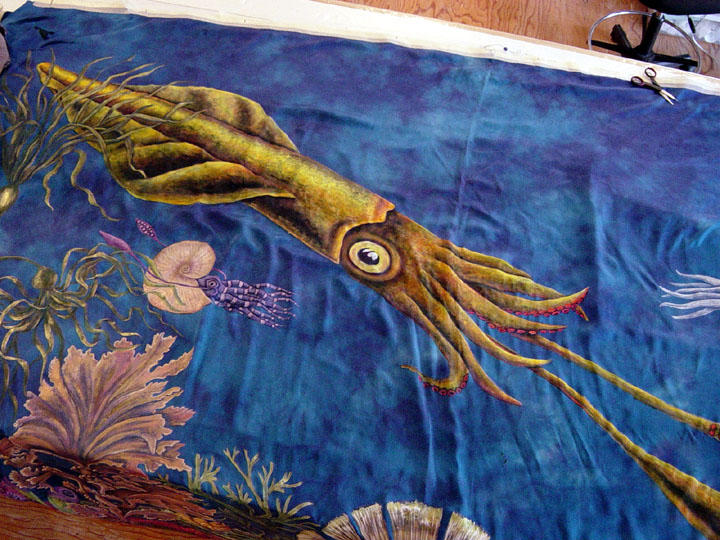
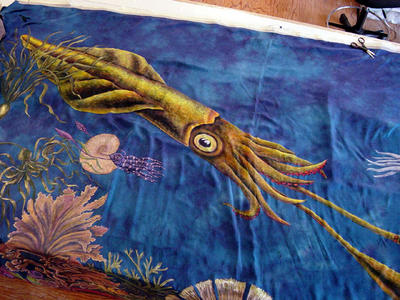
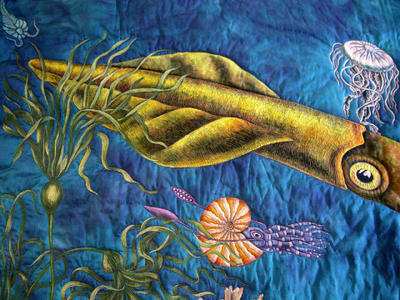
You would not think thread would make such a big difference to the work when you are doing the quilting. But look at the difference in the quilted fin of the squid and the unquilted one. The quilted side is so much richer.
While discussing the quilting of the water online with my art quilt group, Vickie Hallmark mentioned putting plankton into the quilting. What a great idea! There are lots of little plankton hidden in the quilting of the water all over the quilt.
Quilters always like to look at backs of quilts. For a long time I thought that was kind of strange. But I kind of get it now. It is fun to see the picture with out all the color, and see all that crazy quilting.

I hate doing labels, so I thought I would try and have more fun with this one. It is painted and quilted.


 I did not want a traditional binding framing the quilt so I chose to sew the binding on and turned it to the back.
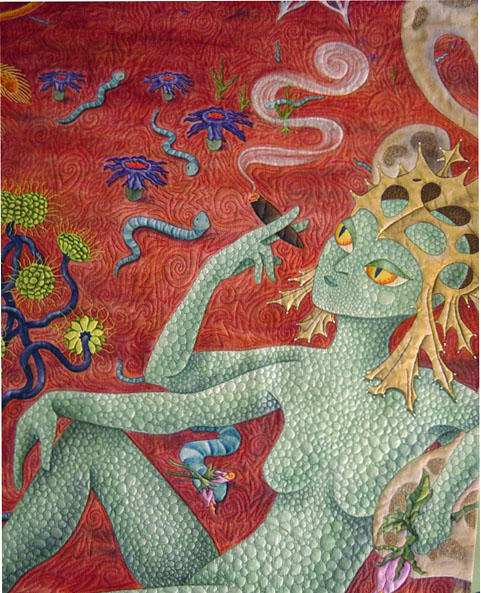
 Then I had my husband take some slides for me. When the slides came back the colors were more vibrant on the reds than the actual quilt. And I liked it better! It really started to bug me and so I put the quilt back on the table and pulled out a red Shiva paint stick. I found a sample scrap of fabric that I had used to experiment with the chromacoal powders for the planet surface and tried out the paint stick. It seemed to give me the color I wanted so I bit the bullet and re-colored the surface of my finished quilt. SCARY.